Fiberglass coaming construction
What is outlined below is how I built the fiberglass coaming described
in Tom Yosts web
pages.
I decided on a fiberglass coaming because I liked the idea of joining
the front and rear deck stringers with a somewhat rigid structure. Plus
I have quite a lot of fiberglass experience as I built a glass airplane
(a Q200) a few years ago. Note that although most of the links to
materials below will take you to Aircraft Spruce, Tap Plastics has much
of the same stuff. Even West Marine as some of it.
I definitely did not take enough pictures!
I built the mold from a piece of pine cabinet-top stock that I found at
Home Depot. I wanted the inside of the coaming "U" to be at least an
inch and this stock is 1.125". It's glued up from many small pieces and
knot free. I think the piece was $25. It was not quite long enough, but
I could cut it in half and glue the halves end-to-end to make a piece
that worked.
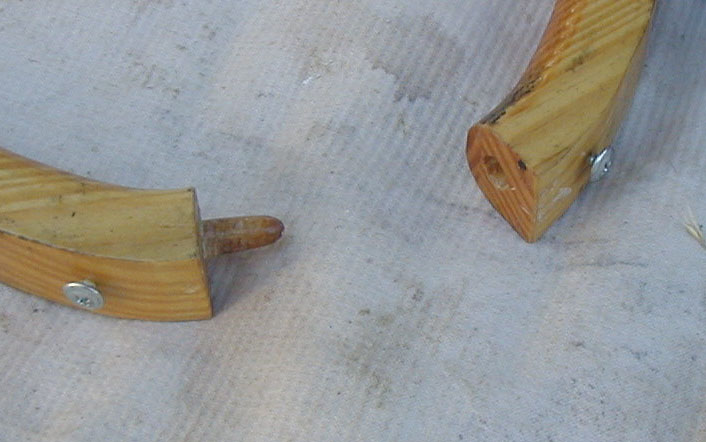
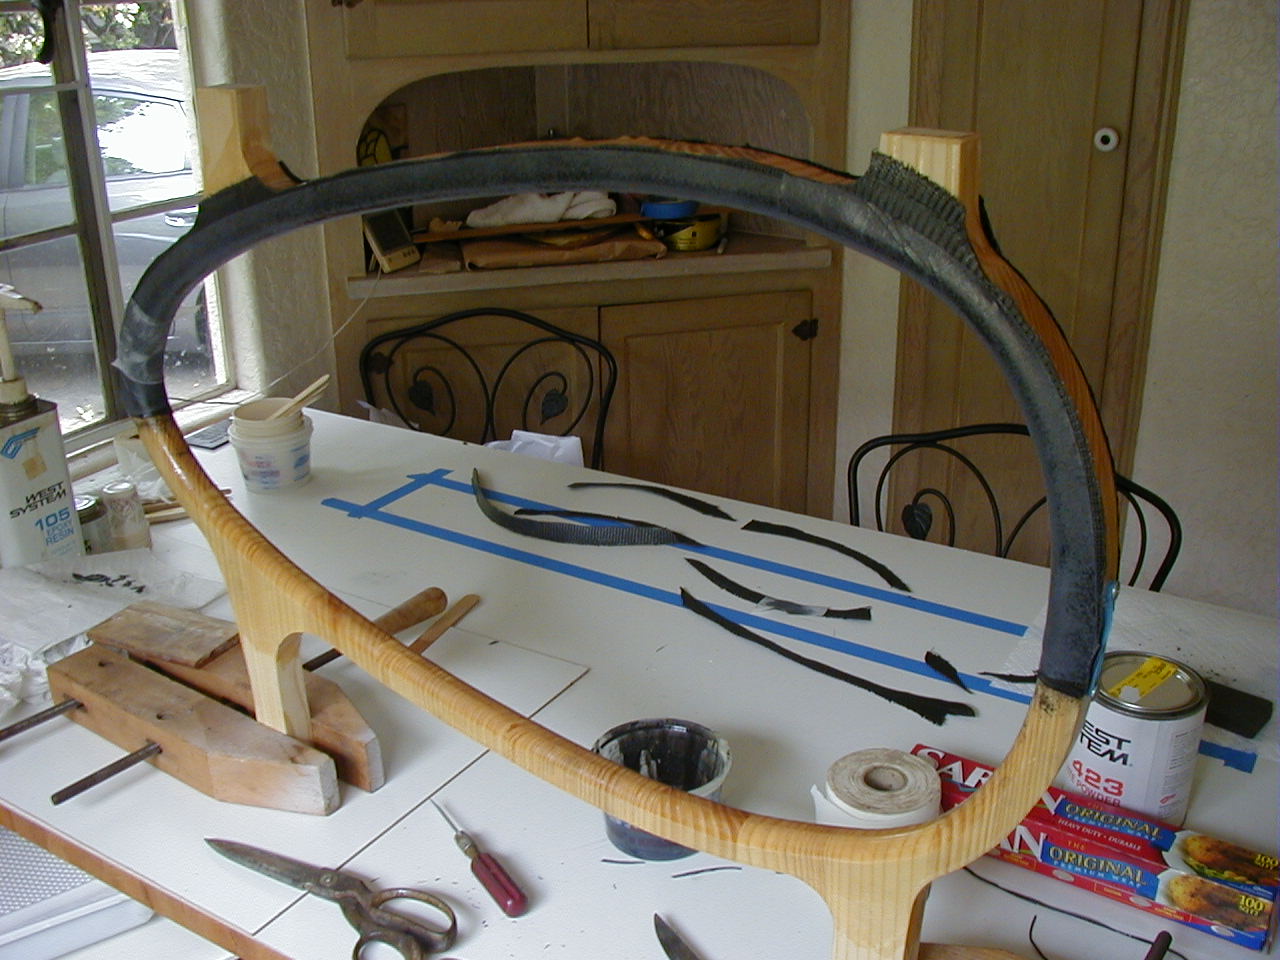
I left ears on the mold so that I could work vertically. Also I used
dowels to position the two halves, then used rubber bands to keep them
together. Click on the images to see the full sized picture
.
The key to making this layup easy so to lay it up flat with bias tapes,
then apply the flat layup to the mold. I used Rutan bidirectional cloth
from Aircraft Spruce. This is a cloth that is optimized for hand
layups. It's 8.8 oz., just a little heaver that regular boat cloth. It
really is easier to work with! http://www.aircraftspruce.com/catalog/cmpages/rutan.php
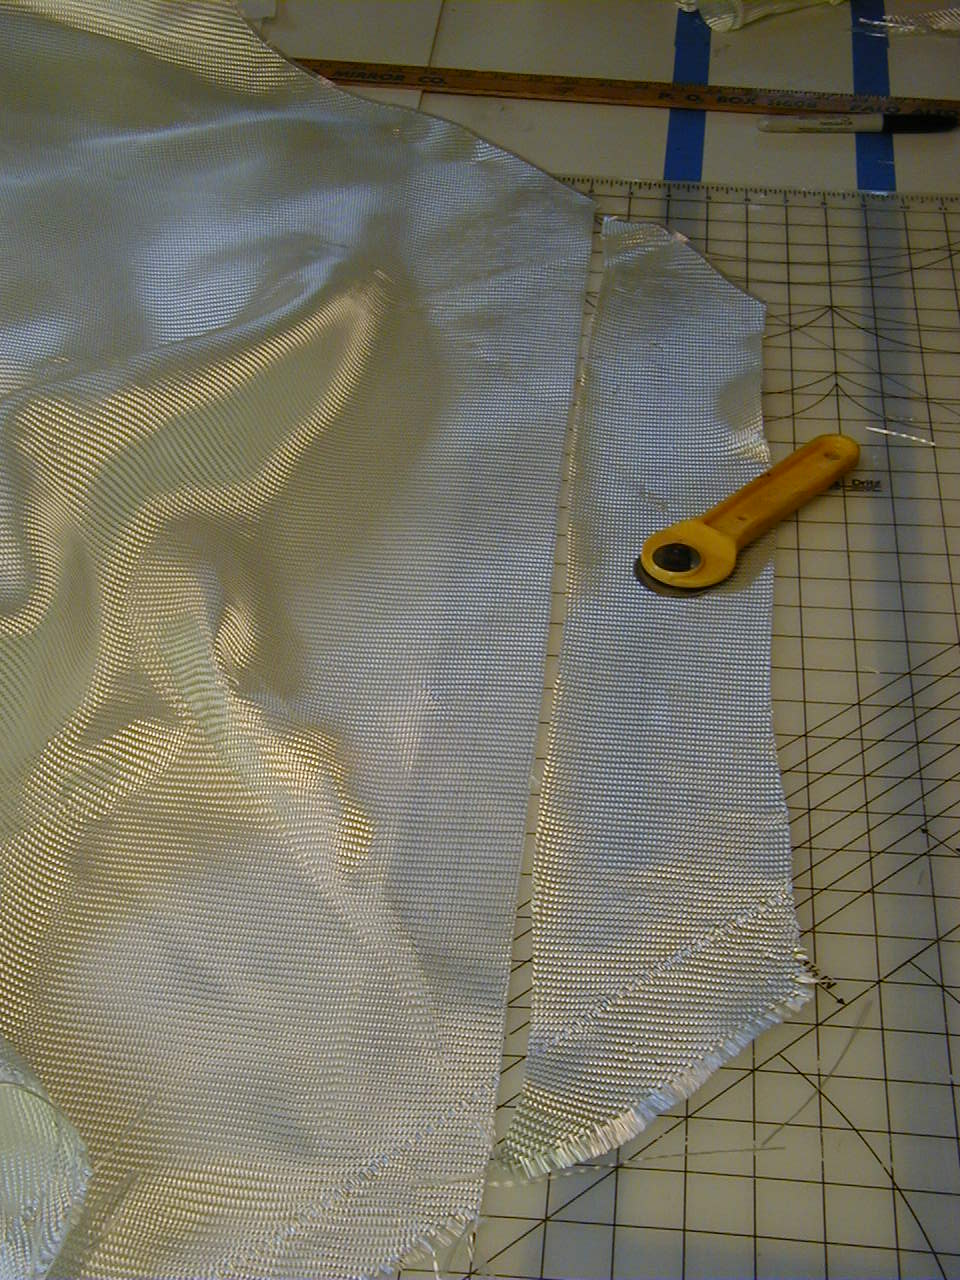
Here I'm cutting the bias tapes. It's easier to use a rolling
cutter then scissors as the tapes have nothing to keep them in
shape after cutting. Carefully roll them up trying to keep the width
right. I cut them 5" wide which yields about an inch extra on both
sides. Don't worry about short pieces, the layup is 7 or 8 layers -
just butt the ends together and make sure that splices don't line up
one layer to the next.
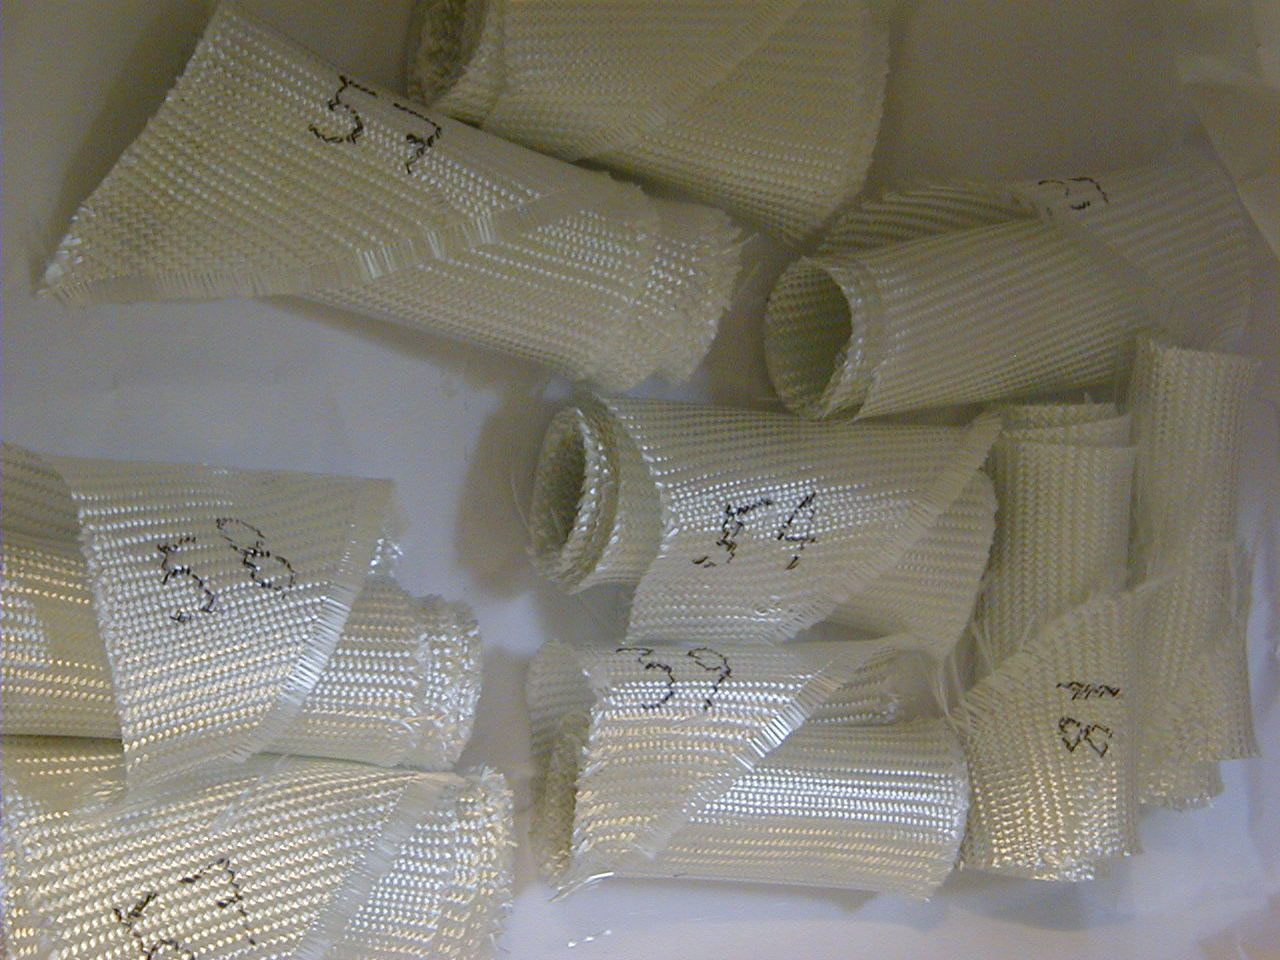
Here are all the tapes rolled up and ready to use. I marked the length
on the end with a sharpie.
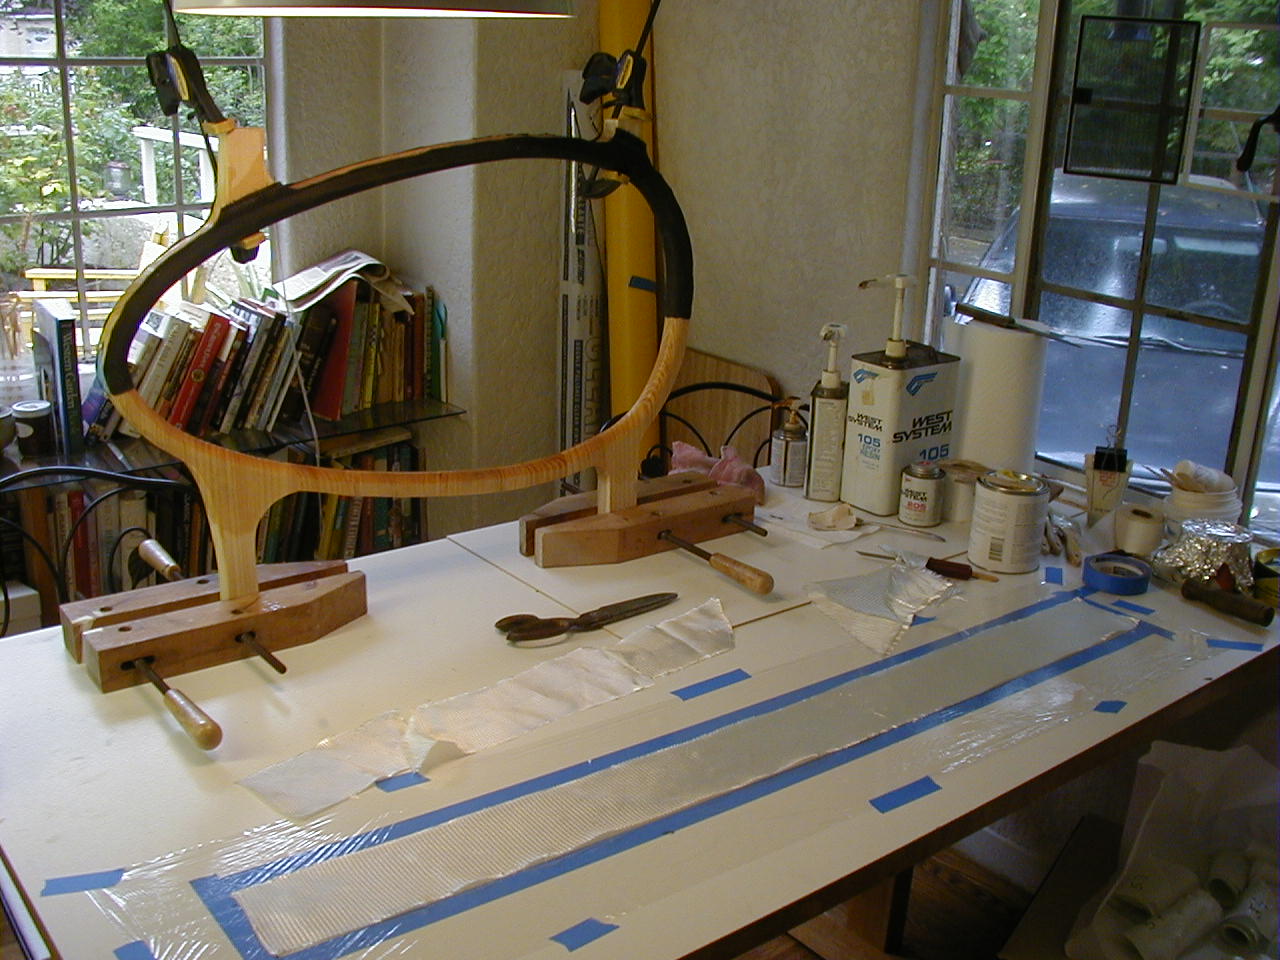
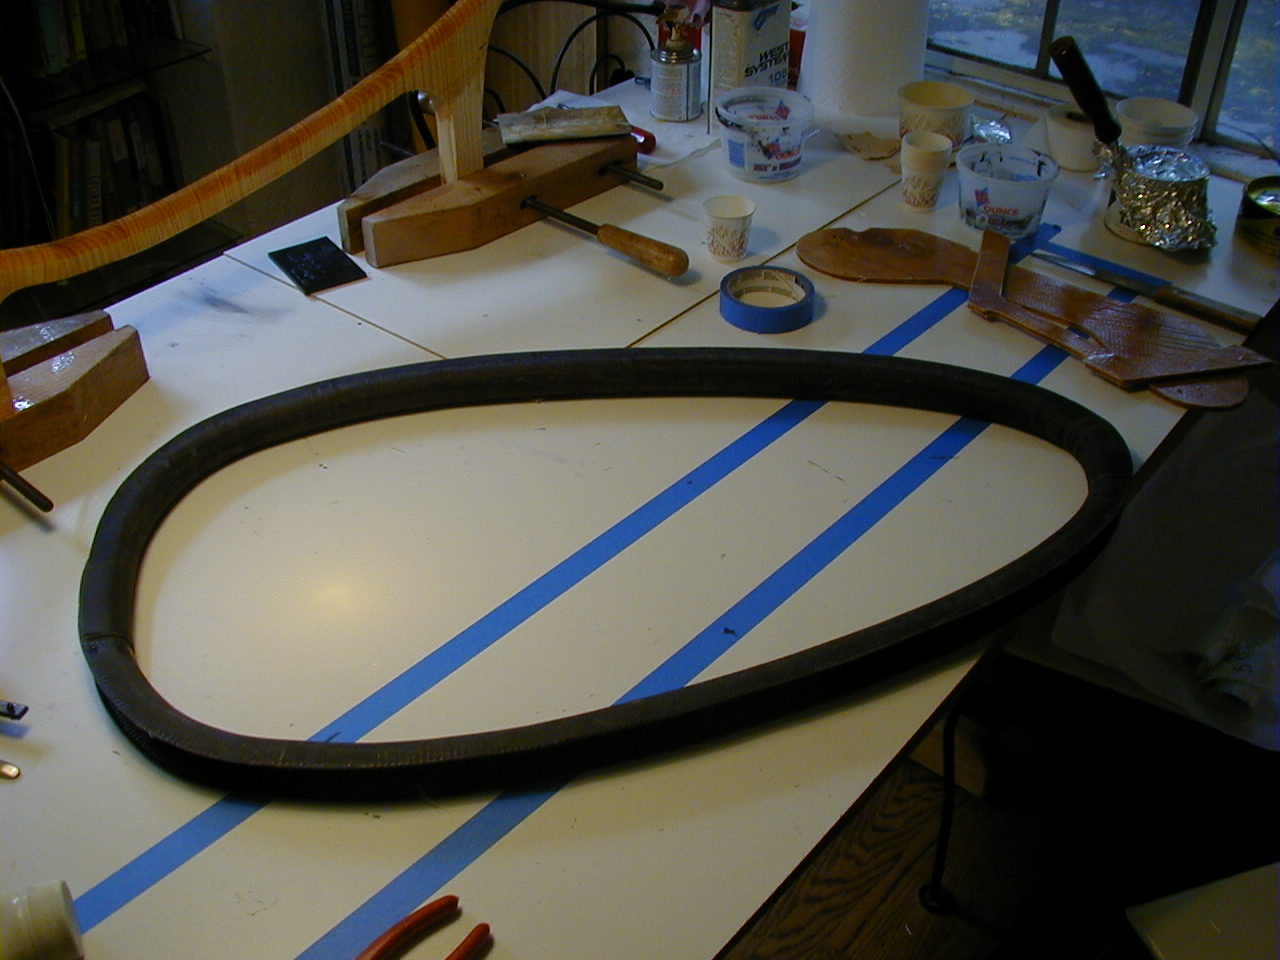
Lay down blue tape to outline the built-up layup dimensions. Then tape
down a piece of Saran wrap on which you will do the layup. The picture
above shows the blue tape, the saran wrap and the first layer of glass
ready for epoxy. No pictures
of the actual layup - too much epoxy everywhere! Use barrier
cream and/or gloves. Barrier cream is great stuff, buy it at an
auto parts store. Use a generous amount, maybe a pecan size portion.
After the layup is done you can just wash off the epoxy with soap and
water. It also keeps the bad stuff from penetrating your skin. Good
when wrenching as well.
To minimize air let each layer be pretty wet, then dry it out by
letting the excess epoxy soak up into the next layer. Use a squeegee
or squeegee
roller to bring up the epoxy from the bottom.. Here is a picture of
the best part of my layup.
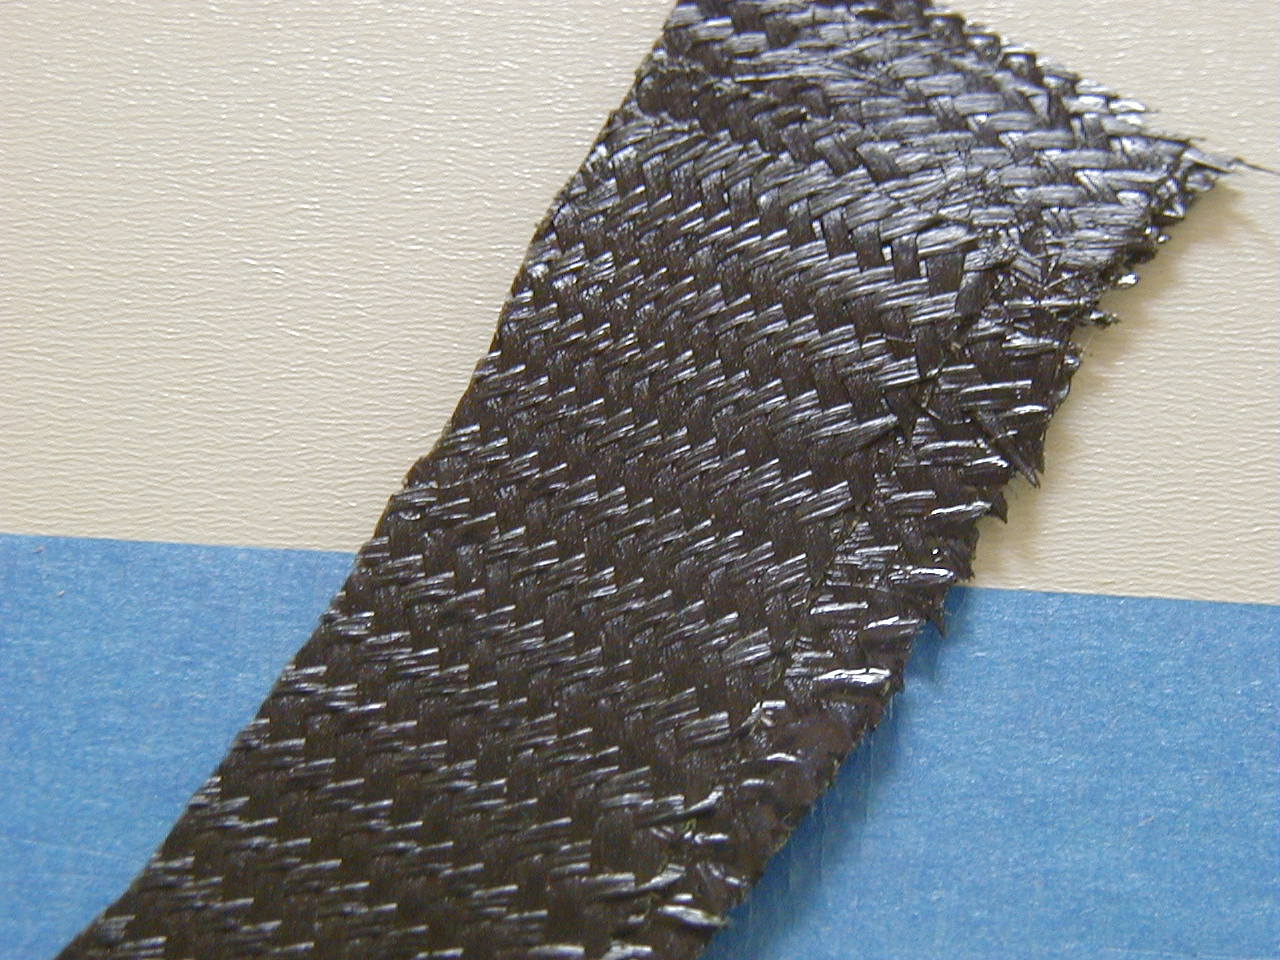
Note that there is very little excess epoxy yet there are no air
bubbles that show.
Now the fun part (no pix!). Cut the Saran around the layup, then pick
up the whole thing with the saran still stuck to the back. The saran
will keep the tape layup with the right aspect ratio until the last
minute. Transfer the layup to the mold (you did use lots of mold
release, right?). You'll be amazed how easy this is. Remove the saran
as you pat down the layup to the contours of the mold working from one
end to the other.
Another step with no pictures - I used peel-ply
to give the coaming a nice surface that I could easily glue the
Velcro to without sanding. I had a roll of bias peel-ply lying around -
I have no idea where I got it. Aircraft Spruce seems only to carry the
regular stuff. If you don't have bias peel-ply you have to use many
small pieces. Still much better than sanding.
Once again no picture - let the epoxy harden until it has the
consistency of leather. Not sticky buy still pretty flexible. At this
stage use a sharp knife and cut off the excess. This is so much better
than sanding! You still have to sand to clean up the edge, but there is
really no comparison with cutting and sanding off the hardened excess.
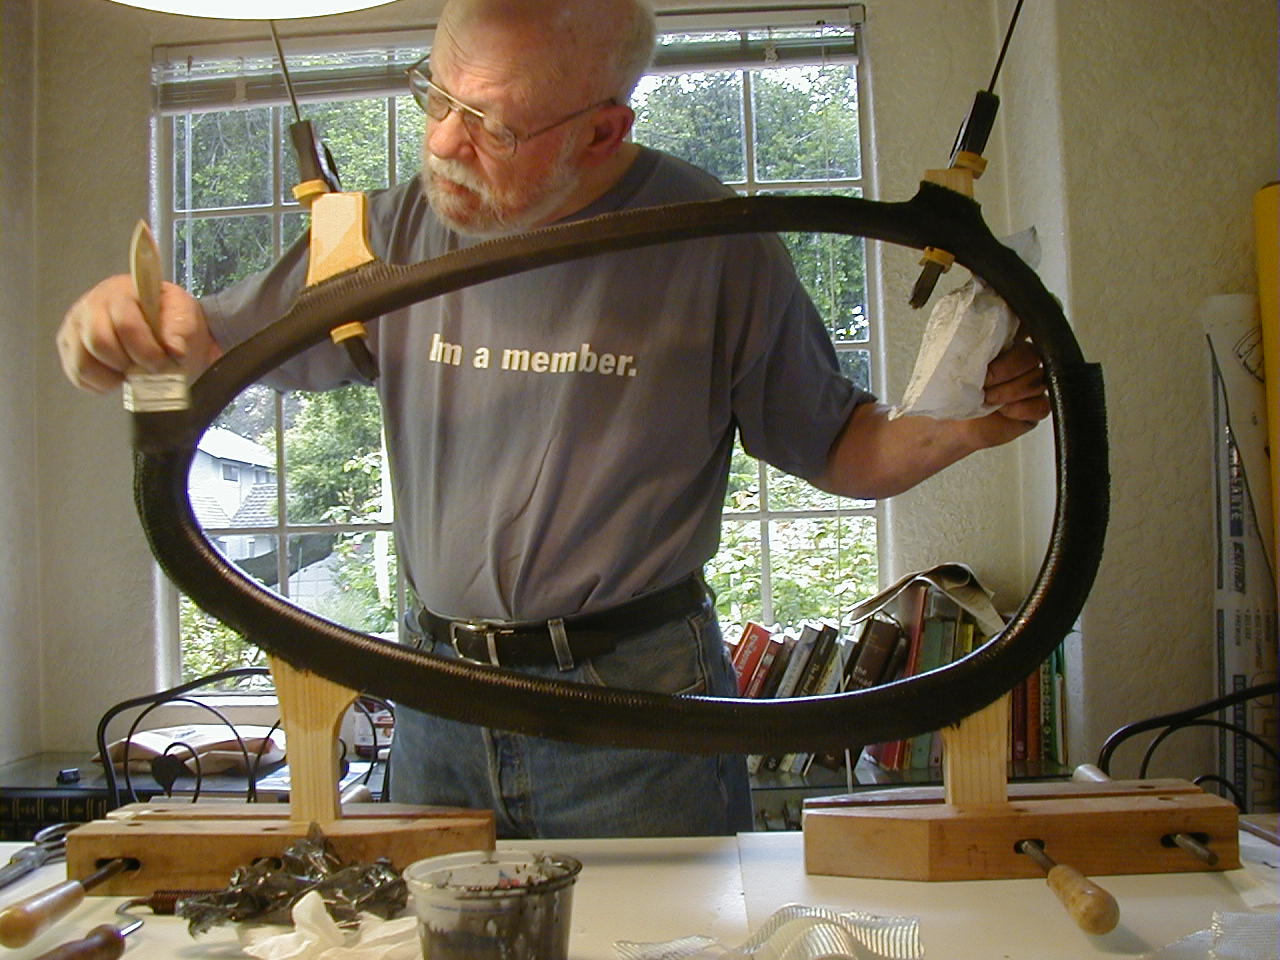
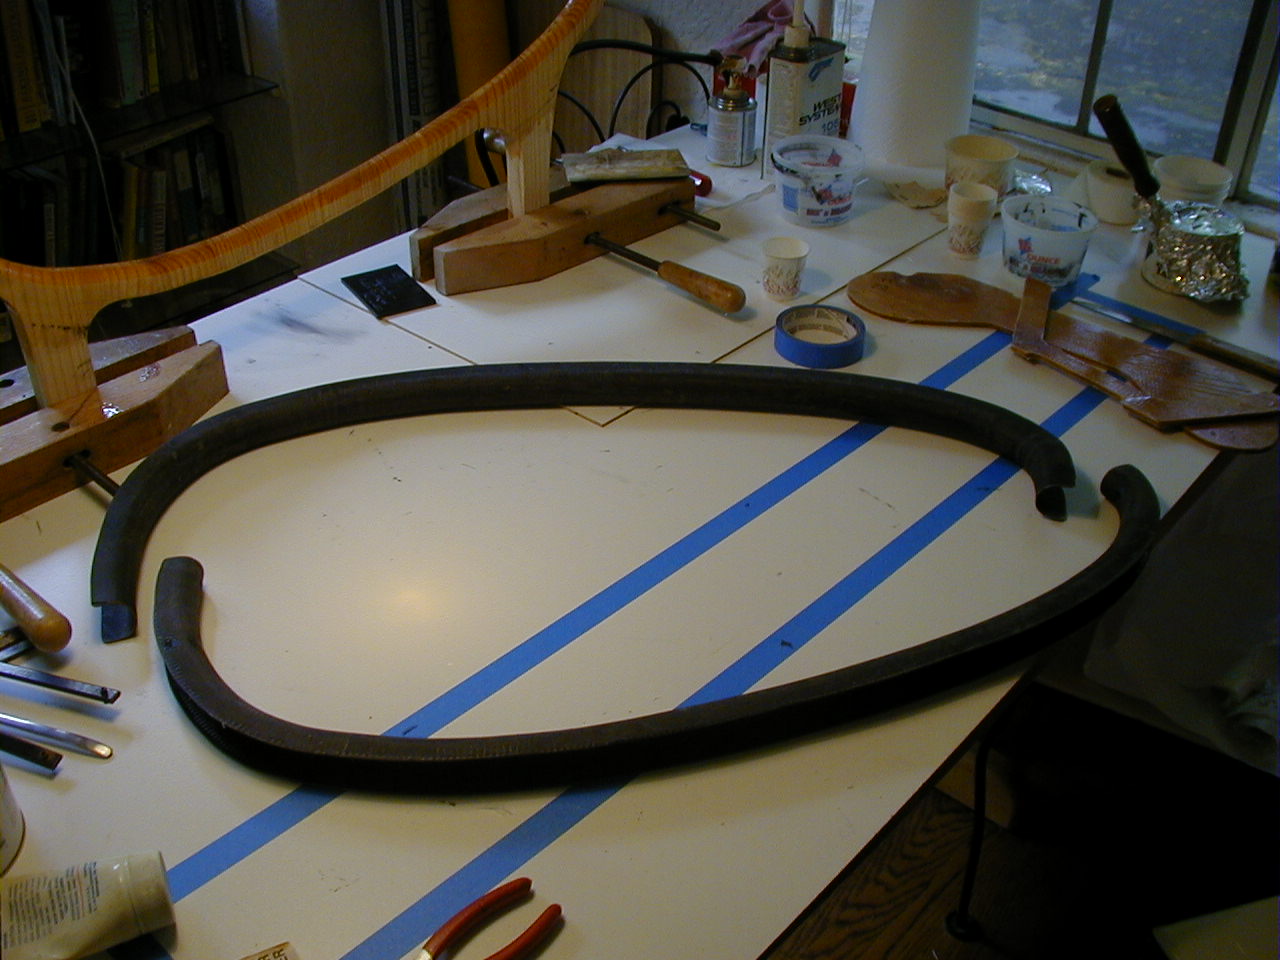
I did the coaming in two layups, overlapping them about 6" at each end.
Here I have the previous layup (hardened) put back on the top of the
mold while I'm finishing putting the wet layup on the bottom. You'll
need to trim each end to the right length while the epoxy is still wet.
I did two coamings, one seven layers and two piece, one 8 layers and
one piece. I like the stiffness of the 8-layer one but I wish I had
made it two-piece as well. The two-piece packs better.